This last year was a big one for my product photography business. I moved from a few hundred square foot studio to a 1200 square foot studio. Now my workspace has everything I need to make amazing images and functions as a workshop as much as a studio. I have filled it with tools like a table saw, a small painting booth with airbrushes, a full kitchen for food photography, shelves full of props, computers for image capture and retouching. I have stayed busy making product and lifestyle photography for businesses here in Delaware, in nearby Philadelphia and across the country. On occasion thanks to Instagram, clients will send me products from the other side of the globe to photograph.
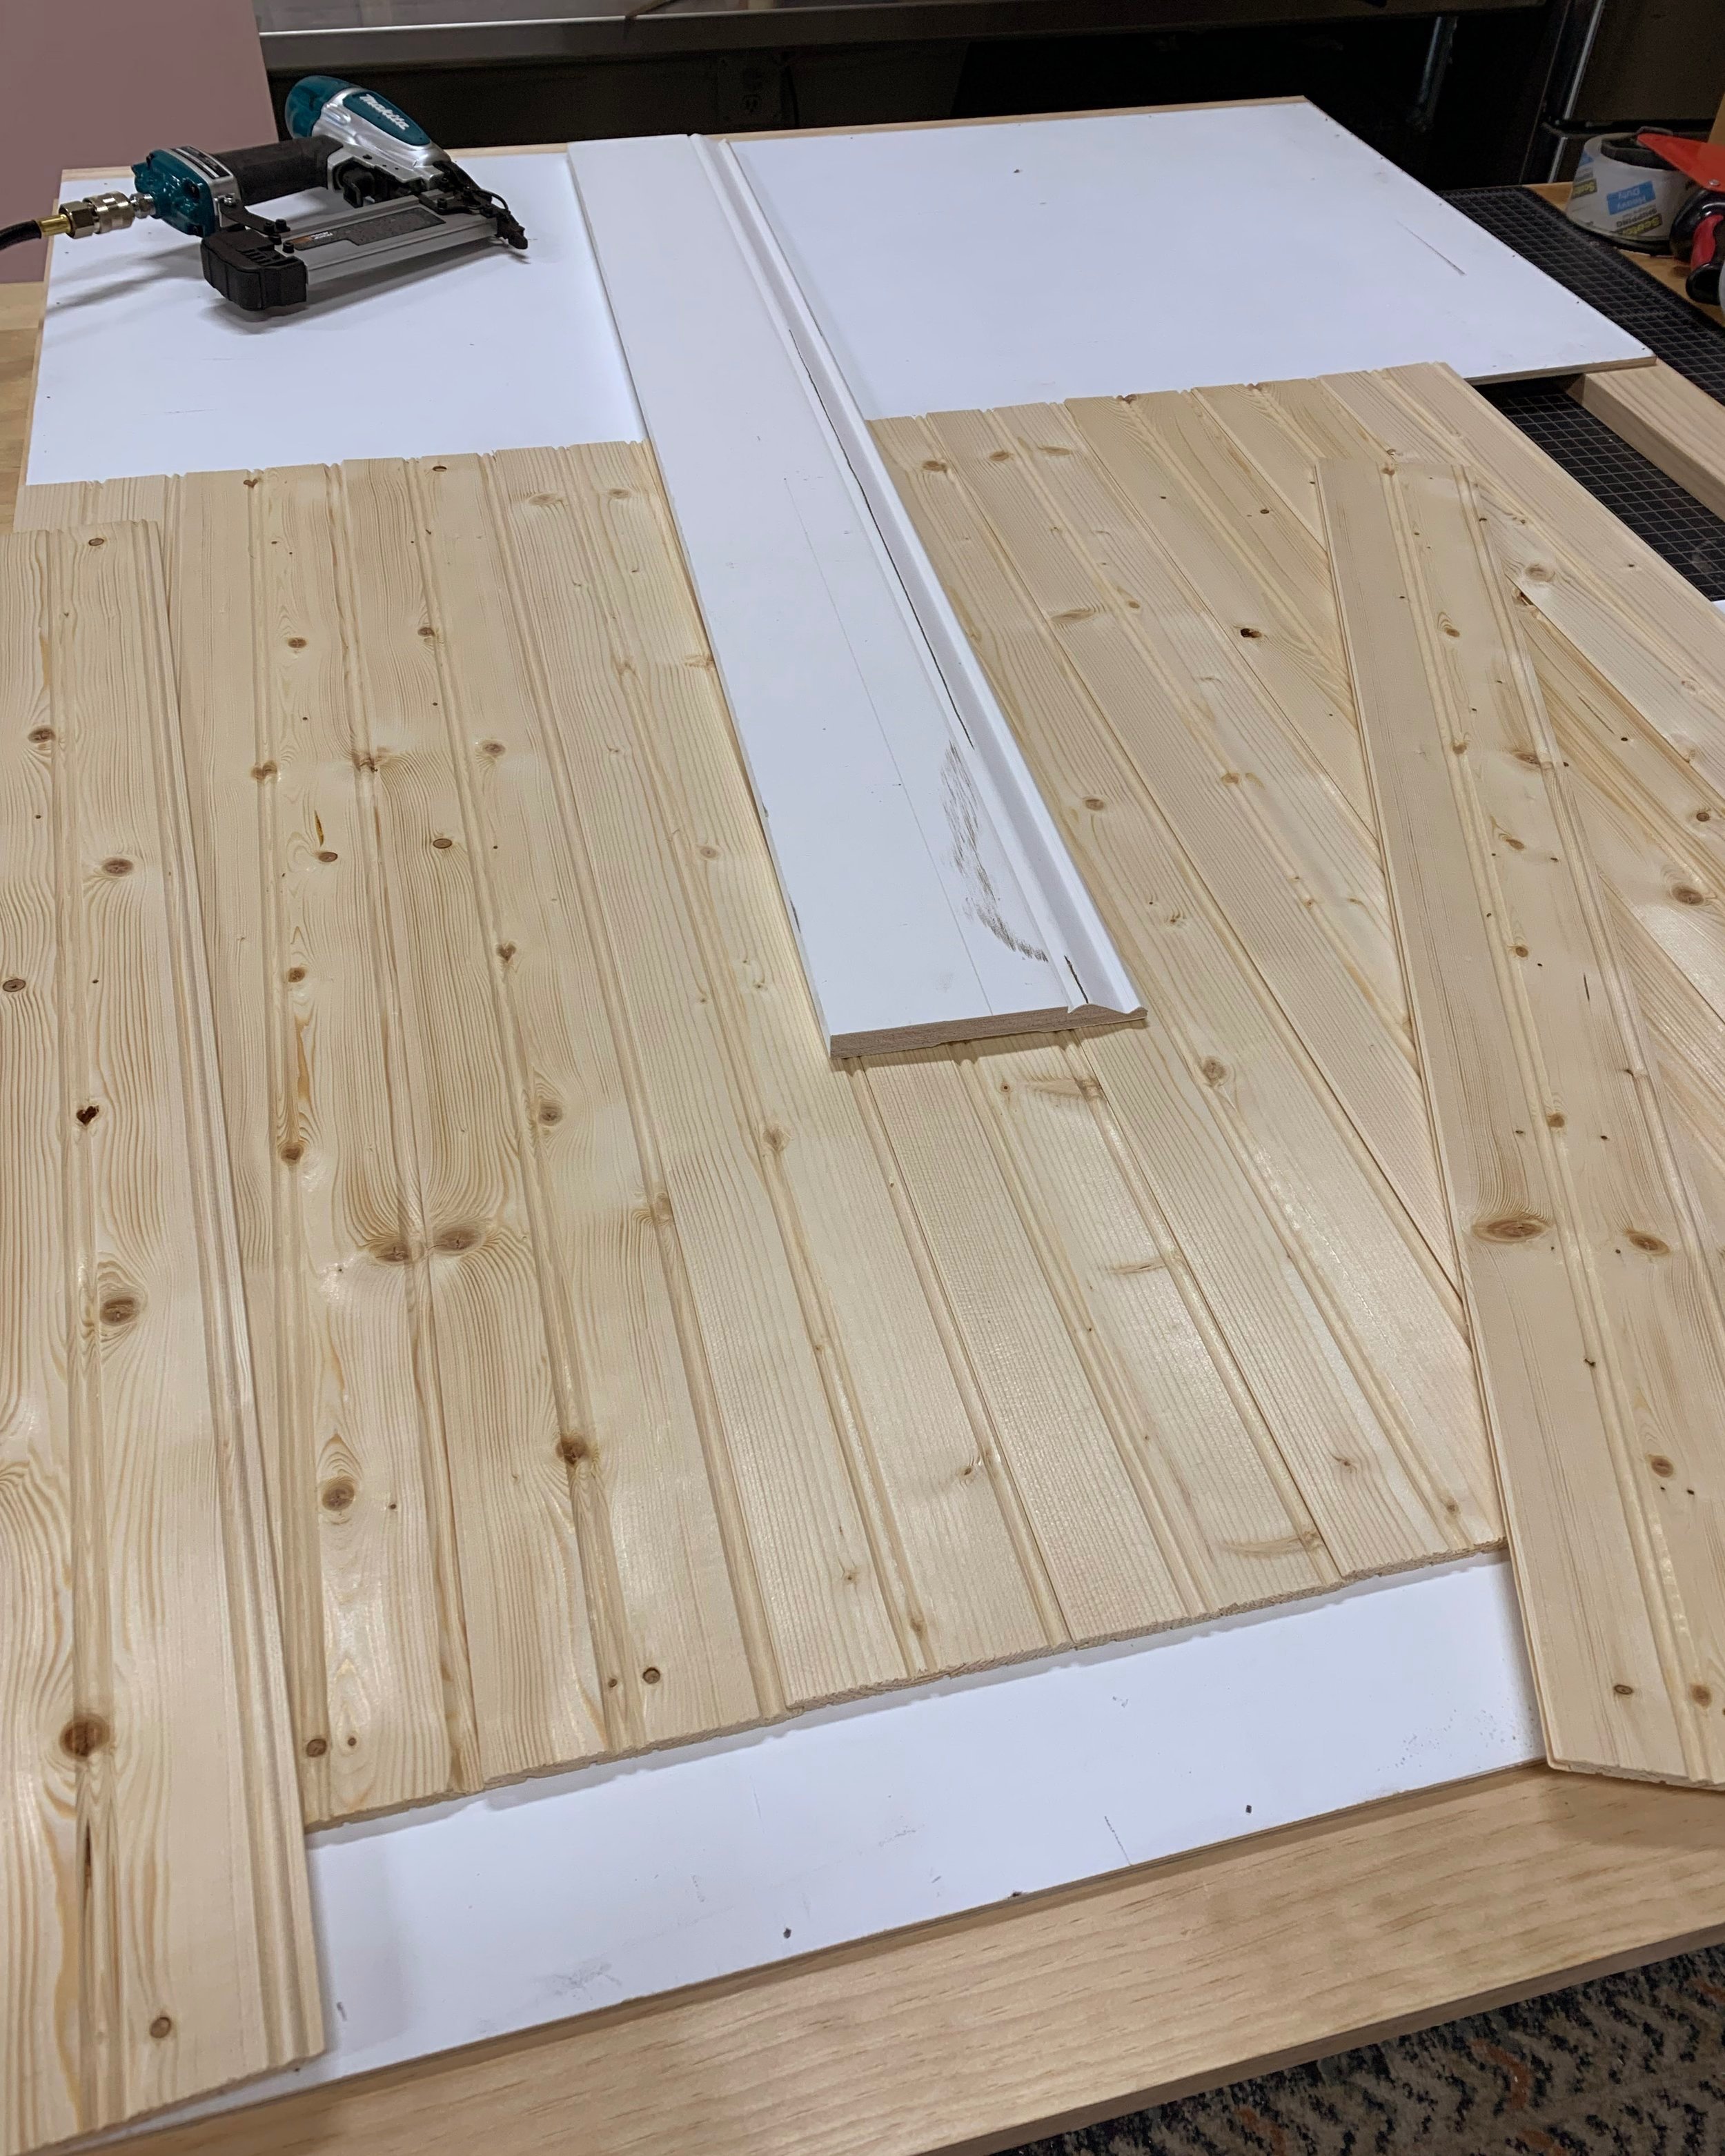
The bead board I ended up choosing, thin but affordable.
I ended up in my dream studio. It took a while to get it all together but it is a functioning and working creative space. Some studios are showrooms because they need to be rented out but this one is different, it is a workshop, as suited for cutting wood, building sets and painting as it is for photographing. For me it is a perfect blend but for all of its functionality it doesn’t make a great background for product photos. I could make the space into a showroom but then I am limited to a single “look”. What I need for my photography is for the studio to function like a chameleon. When I need the set to look like a jungle, no problem, I assemble a few props and viola, we have a jungle. But when that won’t do I need a ton of different backgrounds suitable for all different types of product photography. Ideally I need to go from a colored set to a white set from a kitchen set to a bedroom set in a short time and it needs to look great.
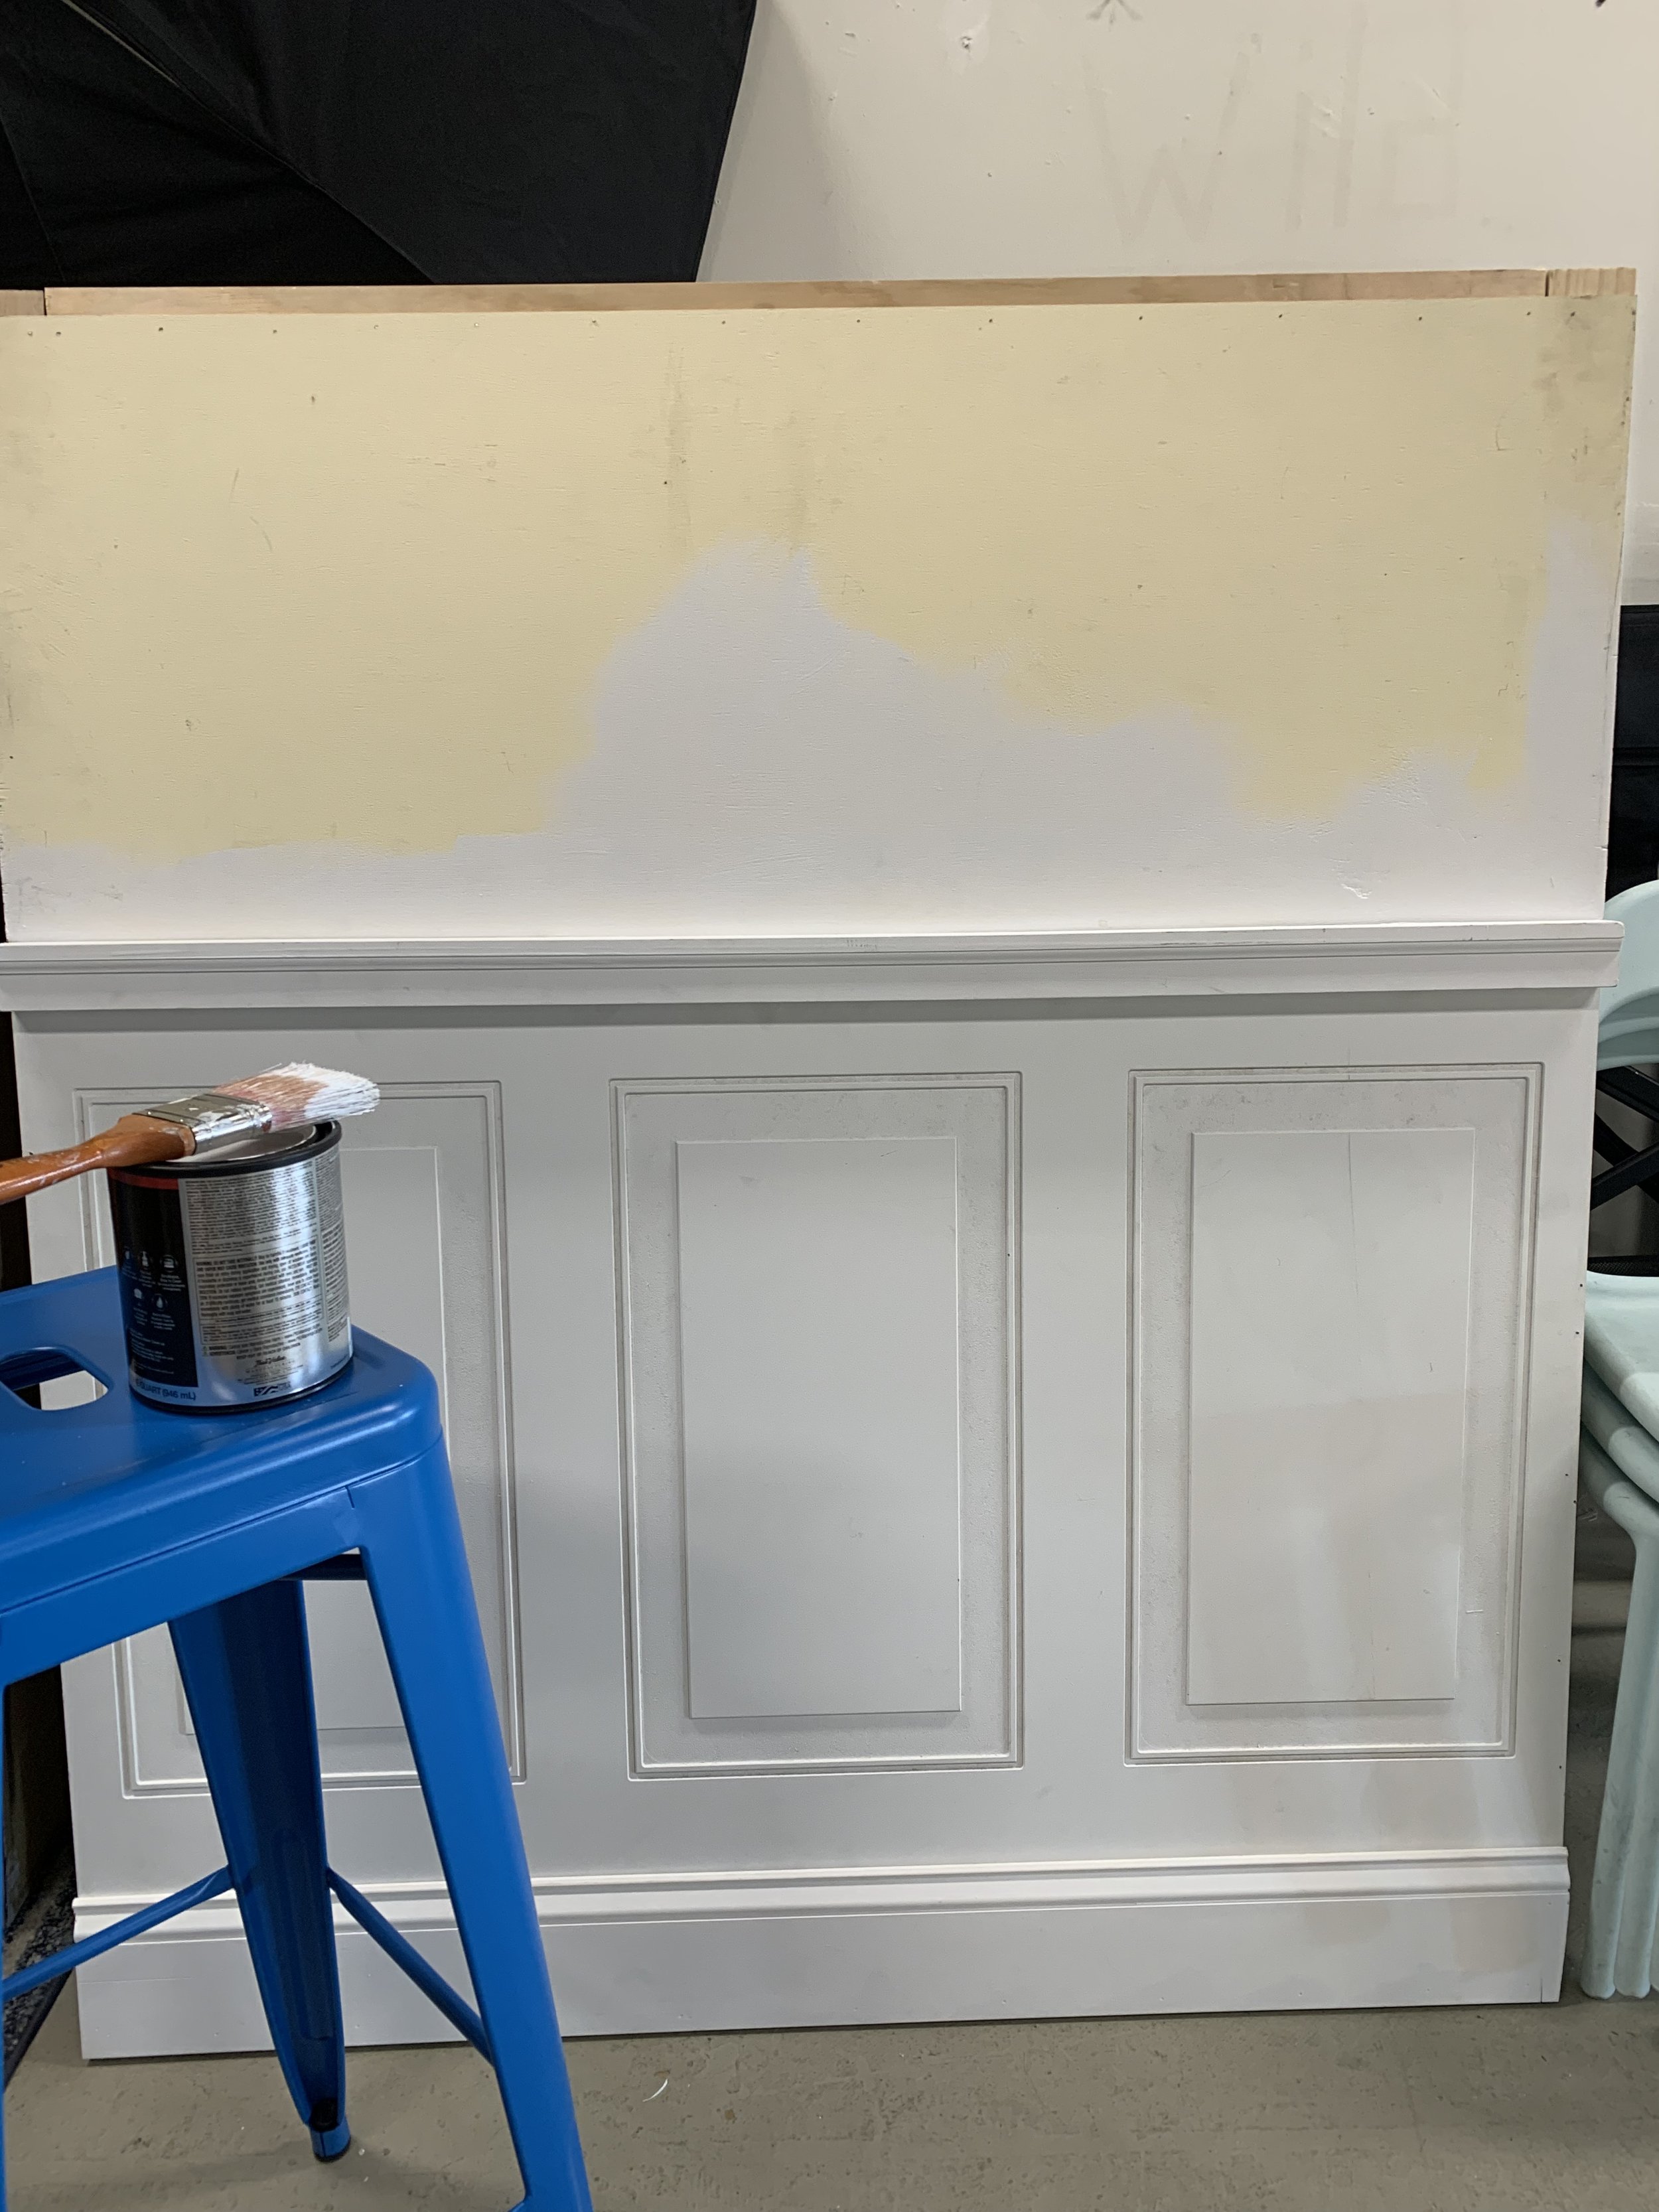
A fresh coat of paint to spruce things up….pun intended.
I stock the studio with rolls of backdrop paper, surfaces and backgrounds of all kinds, and while they are perfect for tons of different products. Sometimes when shooting lifestyle product photography, you need the background to say more and have a different character. I am constantly finding the need to suggest different environments in the home, like kitchens bathrooms and living rooms. It only takes a few simple details to create the illusion of these spaces but a plain or colored background just won’t cut it. So I need a set, and there aren’t set stores around the parts so that means I need to pay someone to make one for me or make it myself. Now you can imagine why my studio is as full of tools for constructing sets as it is for shooting pictures
After some consideration I decided to make some walls with some relief elements, like moulding or trim. I started to think of making theater flats, which are 4x8 foot panels that are joined together, but soon became overwhelmed with the scale of the project. I will loop back around and make some flats soon, but I decided to start at a more reasonable scale and budget. I opted for a more reasonable 40x50” and set my mind on two designs, one of wainscoting and a second design of wood panelling.
My first move was to go to the Home Depot and get my materials. I had decided to build the panels in much the same way as you would in a house, using real bead board and trim to build up the relief. But while I was looking for moulding and bead board to construct my set pieces I happened to notice that they had inexpensive options of both the wood paneling and the bead board. Smaller thinner options, and while they weren’t as thick and substantial they both looked pretty good at a fraction of the cost. I had spent hours mulling over what materials to use and a quick stop at Home Depot changed my plans for the better in a hot second. I think the lesson here is not to overthink things and jump right in. About $150.00 later I had my materials ready and a real plan on how to get things done.
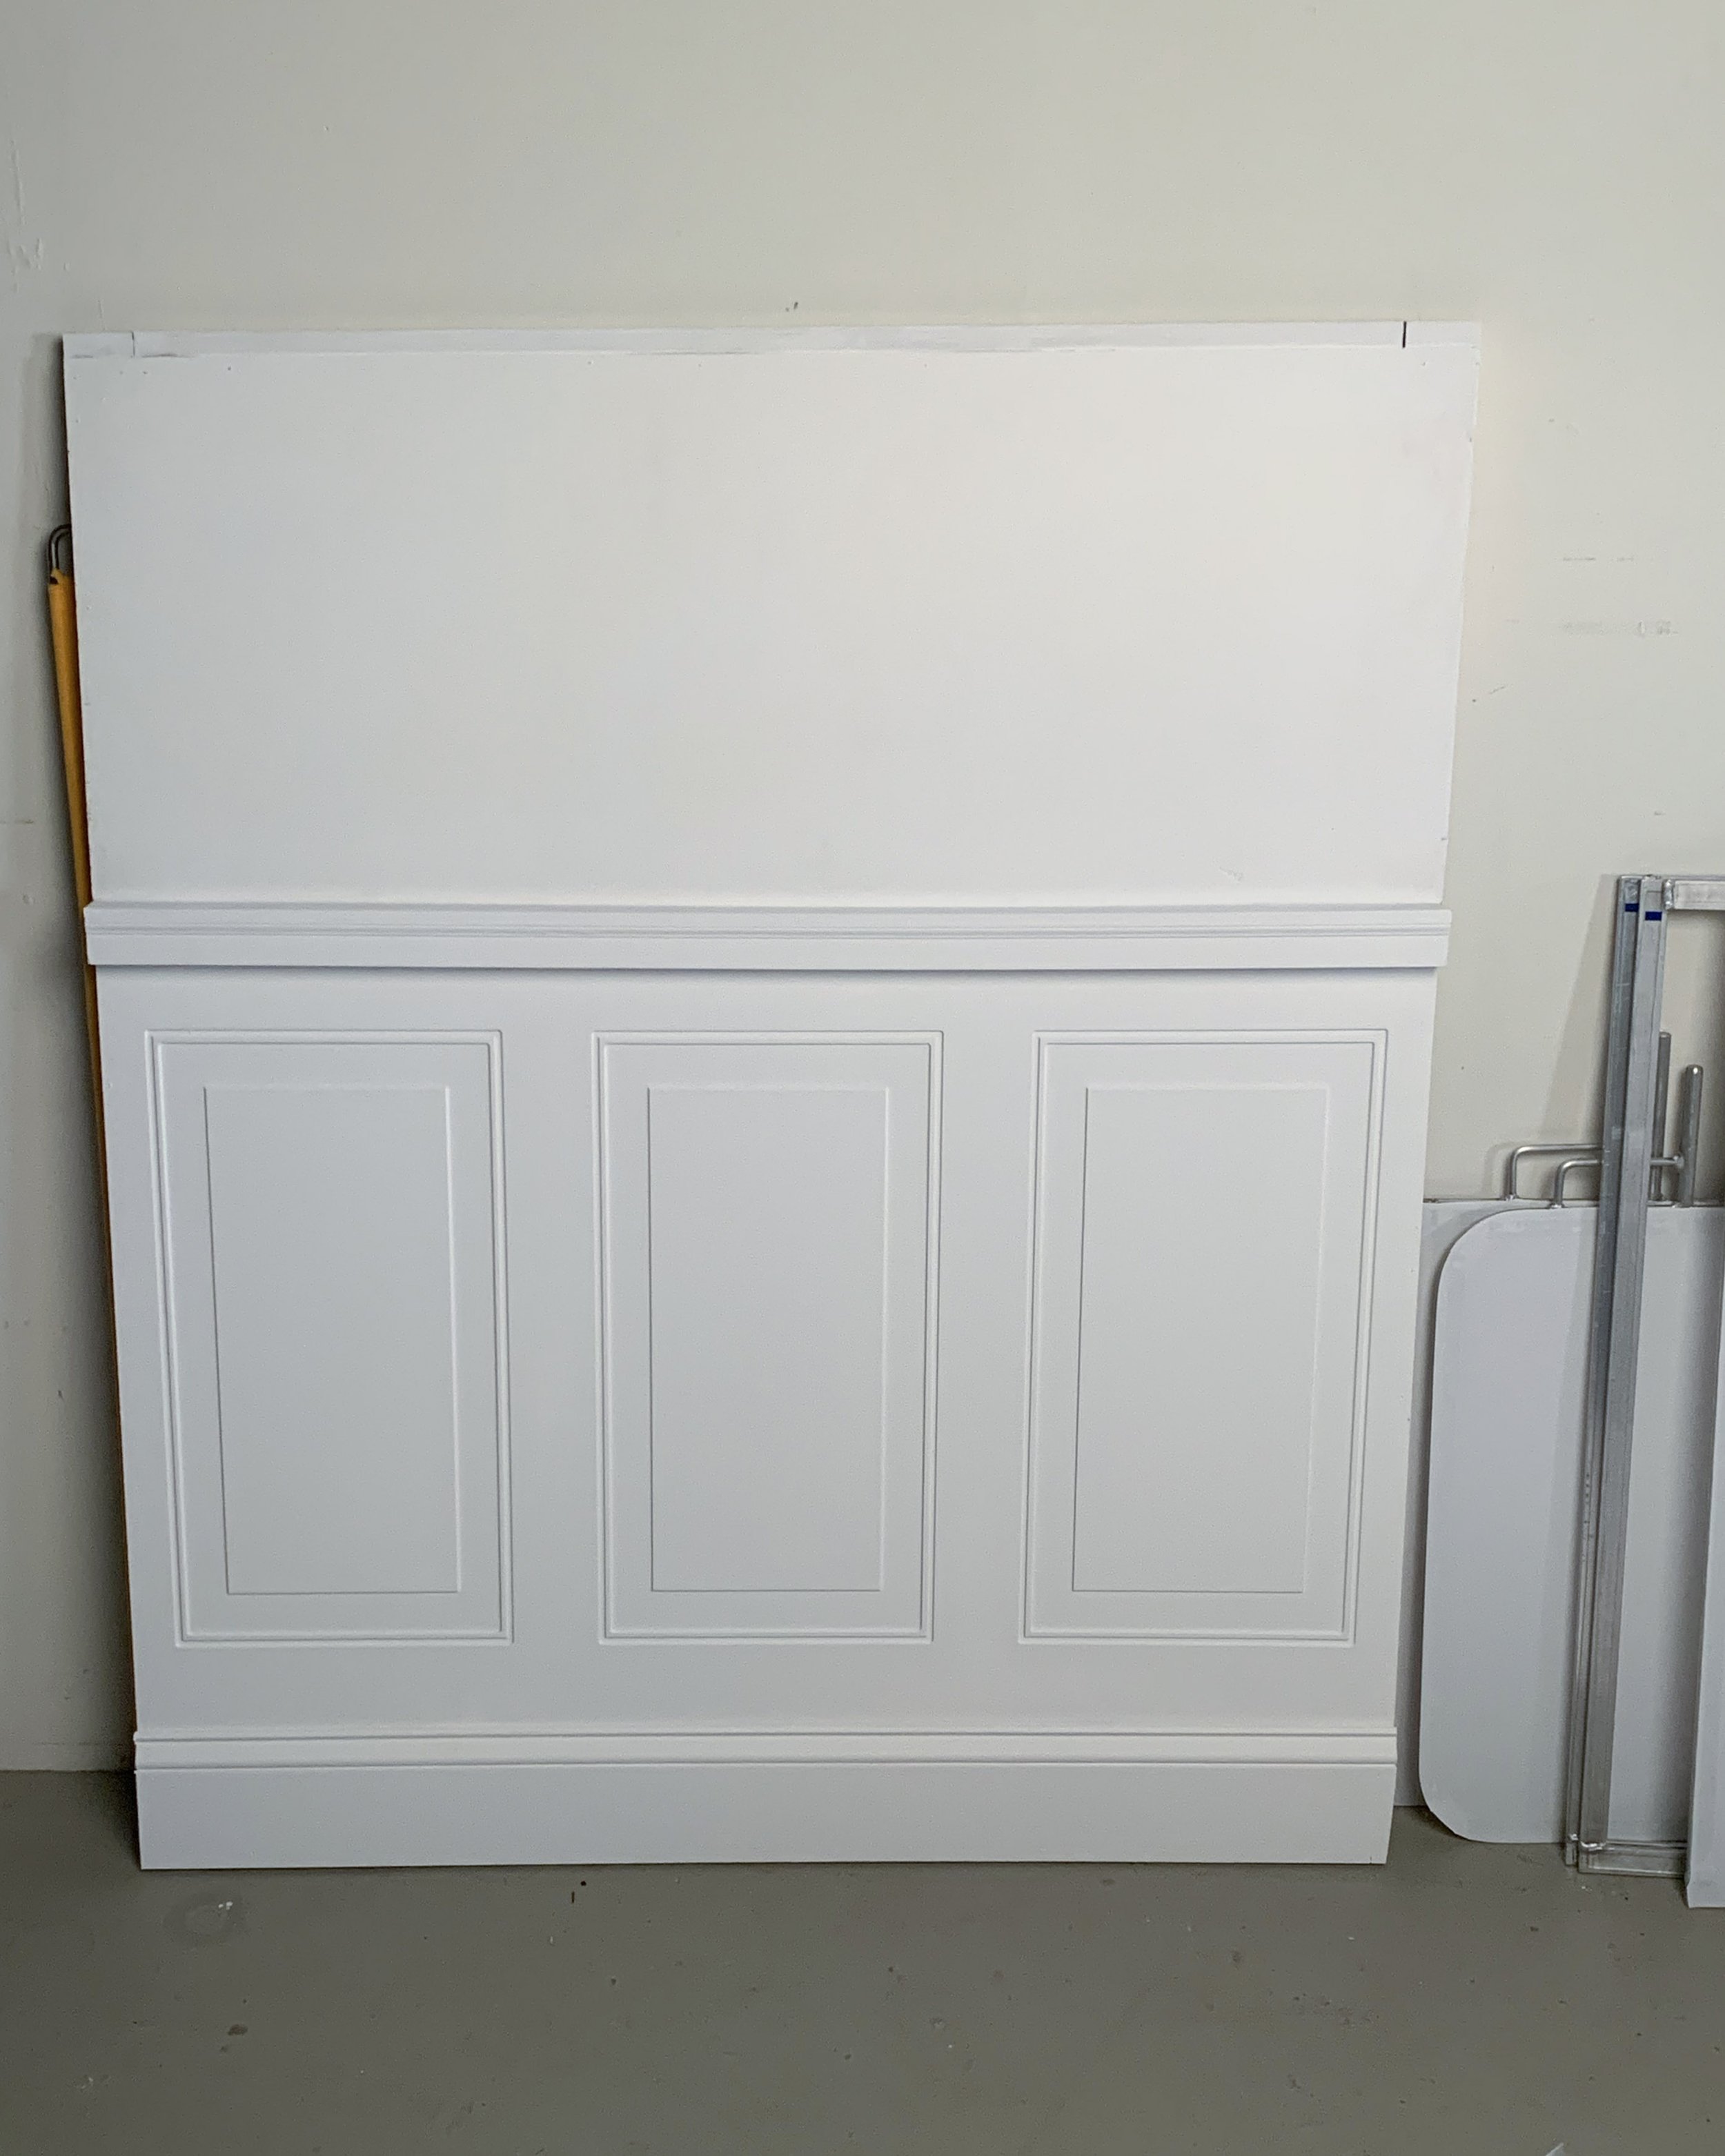
Back at the studio I gathered my wood and started assembling a frame of 1x3” pine. Next, I added a piece of 1/4” plywood to the frame that would act as my wall. Once the smaller thinner bead board was glued and nailed to my support I was able to finish the look with some floor trim and a chair rail. Lastly I added a couple coats of matte white paint. While I think it is common to paint moulding and wainscoting in a glossier finish, matte is less problematic when photographing. Now that I have my two sets constructed I have the option of painting and repainting them for whatever I might need.
it is easy to see how a little color could make things pop.
Both sets turned out well and seem durable. And, I have quickly started to find good projects to use them on. If I decide that a little more high end look, using better materials would help me, then I may revisit and upgrade later. For now what is most important is that rather than a simple flat background I have made something that has depth and dimension and is beautiful when light and shadows play across the surfaces. Now, rather than a shallow set I can place this set far away from my product and really stand out with images that other photographers don’t offer.
Thanks for coming along for the ride, I am really happy with my backgrounds and once I got going they were really easy to construct. I plan on getting a lot of use from these, with a quick coat of paint they can be very versatile. I no doubt will use them for lifestyle product images for years to come. Keep your eye on this page for more product photography related tip and techniques. And if you found me through this post and found it inspiring take a second to say hi or visit my online portfolio.


